Learn all you need to know about BLTouch auto bed leveling sensors: what they are, how they work, and setup guide instructions.
To Touch or Not to Touch?

Automatic bed leveling is quite a common feature in consumer FDM 3D printers. Most machines with auto-leveling, however, use a contactless inductive sensor which is simple to install, operate, and configure. These inductive probes work well with a metal build plate, but build platforms made of other common materials, such as glass, are practically invisible to inductive sensors.
That might have been the way BLTouch sensors came onto your radar: If you needed to use a non-metal bed but also wanted auto-leveling, these sensors are a great option. You also could have thought about adding one for its accuracy. After all, the original BLTouch readings have one of the lowest standard deviations of all auto-leveling sensor types.
Without further ado, let’s break down the BLTouch probe and show you all you need to know about this contact-based auto-leveling sensor.
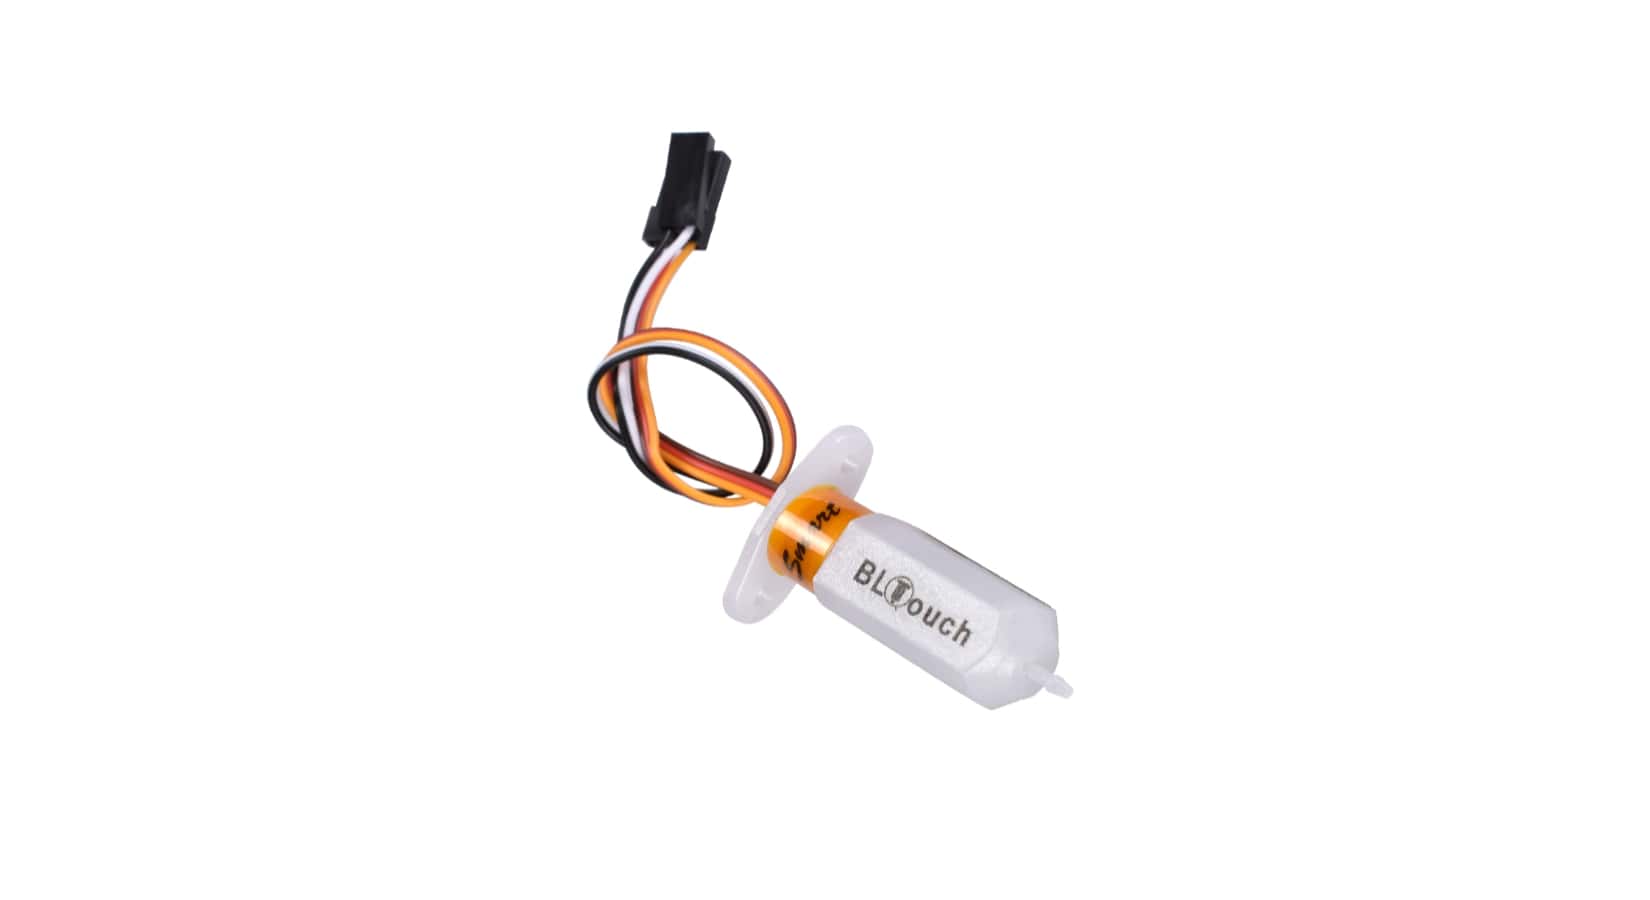
What Is It? According to ANTCLABS, the original manufacturer of the probe, “BLTouch is an auto leveling sensor for 3D printers that can precisely measure the tilt of (sic) bed surface.” This sensor works on any type of bed surface, be it metal, glass, wood, or something else entirely.
The sensor itself is fairly complex as far as bed sensors go. It consists of a microcontroller, a solenoid switch, and a pushpin probe which comes into contact with the bed. The original BLTouch uses a hall sensor for high accuracy, and this sensor, in conjunction with the physical pushpin, is what allows it to be used with many bed types.
In a sense, this sensor is equivalent to a microswitch, mounted on a servo arm, controlled by a servo motor. When the tool head lowers to “home” the nozzle in the Z-axis, the bed pushes the pushpin slightly upwards, triggering the hall sensor, at which point the pushpin retracts and the tool head raises.
The BLTouch is one of the most accurate and reliable sensors available, so it’s no surprise that a few manufacturers such as MakerGear and CraftBot use this device on their high-end machines.
Now that we know exactly what we’re dealing with, let’s take a look at how the BLTouch compares to two other types of sensors out there.
Different Types of Sensors: How Do They Compare?

Inductive Probe
The key difference between an inductive probe and the BLTouch is that the BLTouch sensor physically touches the bed in the leveling process. The inductive probe uses currents induced by magnetic fields to detect metal objects nearby, eliminating the need to physically touch the bed in order to sense it.
But therein lies the problem: Inductive sensors only work on metal beds, since they’re triggering just when in contact with metal. This might be a deal-breaker if glass is your preferred print bed material.
Microswitch (Physical End Stop)
Let’s not discount the old-fashioned physical microswitch. Compared to the BLTouch, this option is less accurate and possibly less reliable in the long term, since the sensing depends on physical components which can wear over time (at least for the physical switches found on most FDM machines).
However, these physical switches give the other fancier sensors a run for their money when it comes to the cost and ease of configuration. Since physical switches are the simplest and earliest form of Z-homing sensors, they’re easy to obtain and trivial to set up.
Alternatives
Pinda Probe
The Pinda probe, developed by Prusa Research, is an inductive probe with the addition of a thermistor to account for variations in the bed temperature. The Pinda probe is specifically designed for the Prusa range of 3D printers, which are designed with special calibration points on the bed to help with leveling and skew correction.
The probe is said to be highly accurate for 3D printers, and though we couldn’t find any numbers, the reviews seem positive. This leads us to believe that this may be a good solution as well, at least if you have a metal bed.
Ezabl Pro
The Ezabl Pro is a custom manufactured capacitive sensor. It comes with a connector board that uses an optical isolator to prevent any high voltage damage to your mainboard in case of wiring mistakes.
With regards to precision, it’s been able to measure within a range of a thousandth of a millimeter, which is what 3D printers need. The Ezabl Pro also comes with helpful features like dual shielding, which prevents any interference with other signals.
The main downside with the Ezabl Pro would be the cost, which is about $65. On the bright side, it’ll work on glass beds.
Piezo Sensor
A Piezo sensor makes use of the Piezo-electric effect to capture changes in force, pressure, or strain, and convert these changes into electrical charge. Precision Piezo, a company in UK, is one of the few companies making Piezo sensors for 3D printers. It has been said that these have close to 7-micron accuracy, which is quite precise for a 3D printer.
The advantage of the Piezo sensor is that the nozzle itself can be used as the sensing device, with no additional components needing to be mounted. Also, the Piezo sensor can be placed on the print head or below the print bed to sense the pressure. As far as price is concerned, it’s pretty much equivalent to the BLTouch.
General Setup

Before you get started with modifying your machine for the BLTouch, you’ll need to plan for the following:
Mounting the Probe
The BLTouch probe will need to be mounted as close to the print head as possible. You can find many designs available for you to download directly, or if you’re in the mood to design one on your own, make sure to read the BLTouch documentation to get the correct measurements.
Some users run into an issue where the nozzle digs into the bed on one side and print perfectly on the other. The reason that this happens is because the BLTouch is mounted at an angle with respect to the nozzle. So, when designing and mounting your hardware, make sure to have the BLTouch mounted perfectly square and aligned with the nozzle.
Once you’ve mounted the probe, make sure to note the distance between the probe of the BLTouch and the center of the nozzle in both the X and Y direction.
Configuring Firmware
To get the BLTouch up and running, the printer’s firmware will need to be modified in a few places.
The first step is to activate the BLTouch sensor by defining it. Remove the two forward slashes to uncomment the “define” statement:
#define BLTOUCH
The next step is to set the offset of the BLTouch using the X and Y distances you should have measured while mounting the probe. The Z offset can be a bit tricky, as the probe of the BLTouch extends below the nozzle when activated, so you’ll need to find the distance between the probe and the tip of the nozzle when the probe is fully extended.
Also, since the probe goes below the nozzle, the offset needs to be negative. We recommend setting it to about -2.5 for safety and then adjusting from there. You’ll want to change the values of the following lines to match your numbers:
#define X_PROBE_OFFSET_FROM_EXTRUDER 30 // X offset: -left +right [of the nozzle]
#define Y_PROBE_OFFSET_FROM_EXTRUDER 20 // Y offset: -front +behind
#define Z_PROBE_OFFSET_FROM_EXTRUDER -2.5 // Z offset: -below +above
Once you’re done with the offset, you’ll need to choose the type of bed leveling you want. There are about five different types of leveling methods that you can choose from, but we’ll using the Bilinear method since it’s easy to get started with.
To choose an option, uncomment it by removing the slashes. Note that only one option can be left uncommented. Your code should look something like this:
//#define AUTO_BED_LEVELING_3POINT
//#define AUTO_BED_LEVELING_LINEAR
#define AUTO_BED_LEVELING_BILINEAR
//#define AUTO_BED_LEVELING_UBL
//#define MESH_BED_LEVELING
You can also set the number of grid points you would like to probe. By default, it’s set to 9 points, which makes a 3 by 3 grid along the X- and Y-axis. The number of points can be increased for more accurate results, but keep in mind that the probing time will also increase as more are added.
#if ENABLED(AUTO_BED_LEVELING_LINEAR) || ENABLED(AUTO_BED_LEVELING_BILINEAR)
// Set the number of grid points per dimension.
#define GRID_MAX_POINTS_X 3
#define GRID_MAX_POINTS_Y GRID_MAX_POINTS_X
Testing
Once the firmware settings are dialed in, you’ll need to check if the BLTouch is working as intended by running a basic test. Once that’s completed, you can get started with adjusting your Z offset. There’s a great video by 3DMakerNoob that takes you through the entire process step-by-step.
Configuring the Slicer
Make sure to add a G29 command in your start G-code, right after the G28 command, as shown above.
Fakes & Issues
Spotting Fakes
Original sensors come with a QR code embedded in the PCB on the back side.
Disadvantages of the BLTouch
While the BLTouch is an extremely accurate leveling sensor, there are a few disadvantages to it as well.
When using the BLTouch, it’s important to keep the surface of the bed free of any debris. The mechanical probe senses the surface of the bed, and any damage or debris on the surface will result in inaccurate readings.
The BLTouch has also been said to suffer from interference from the current in the hot end heater wires. This interference leads to improper functioning of the BLTouch. Marlin firmware has a specific line of code to help you turn off heaters while the sensor probes the bed. To activate it, find and uncomment the following:
#define PROBING_HEATERS_OFF
Auto Bed Leveling Kits
Every 3D printing user wants the distance between the print nozzle and bed to be uniform throughout the build area. But that’s usually tough to attain given the expansion and contraction that takes place during the 3D printing process. The result is an unlevel bed, which is responsible for a plethora of common 3D printing problems, including clogging, scratch marks on your print, or general poor adhesion because the first layer is uneven.
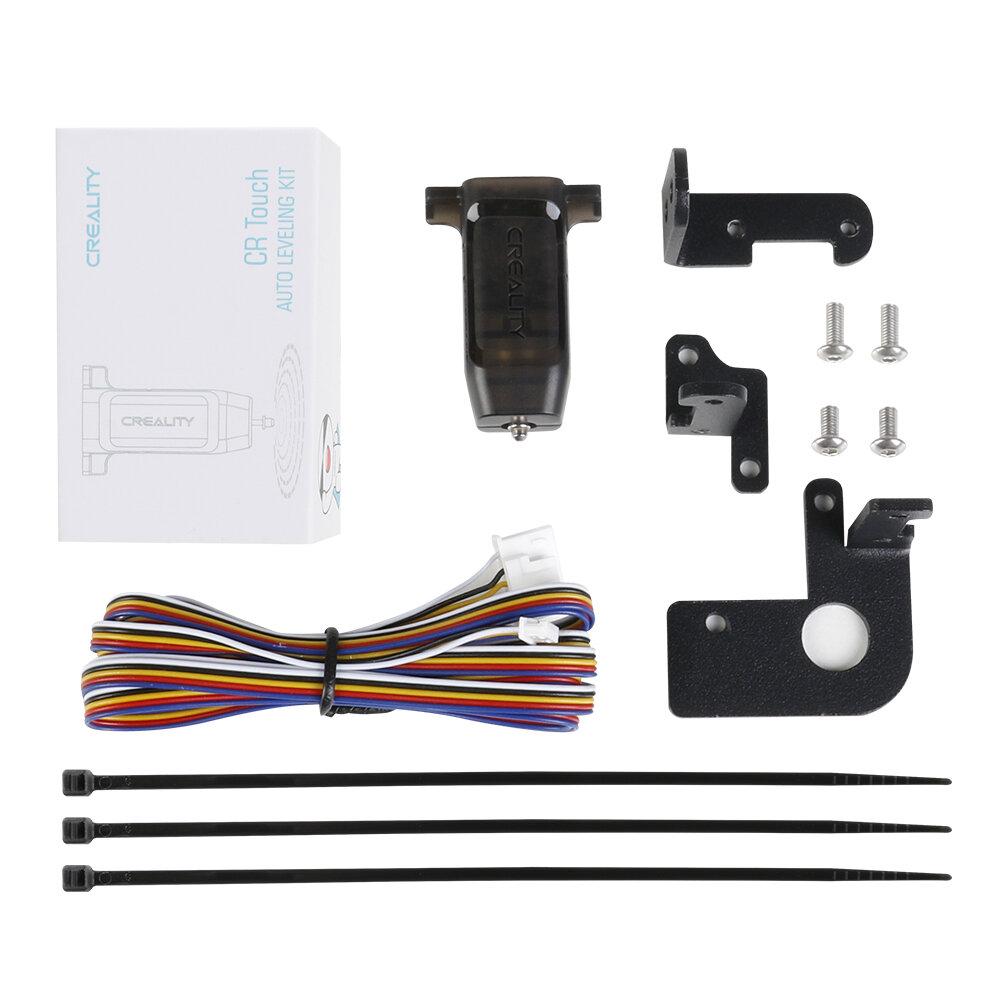
Browse our full range of auto bed leveling kits here.


